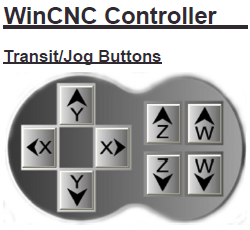
Improving the User Interface for WinCNC
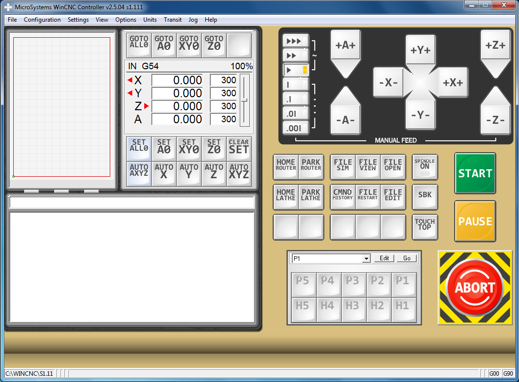
I received WinCNC in a ready-to-run package from CAMaster. The package included WinCNC v2.5.01 with a screen interface in CAMaster's factory design. The factory's one-screen-fits-all layout is well planned with a specific goal to accommodate their variety of machine applications and options.
The on-screen buttons for WinCNC require mouse activation. A fluent user will push the mouse aside as the keyboard's hot-key input is more efficient. The remote pendant option may provide another increase in user efficiency. Locating a touch screen monitor at the machine's table is a great option too. I chose to swap the factory monitor for the touch screen.
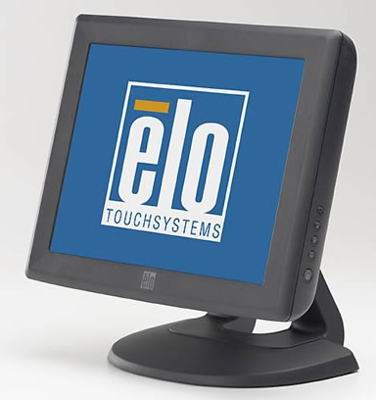
The screen interface from CAMaster was developed for a 1060x768 window. In my efforts to reduce the expense, I focused on the smallest resolution monitor that utilized the CAMaster design; 1024x768. My search ended with the ELO Touchsystems 1515L. The 1515L has mild power usage at 30W maximum and decent touch technology with the Surface Acoustic Wave panel.
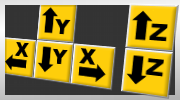
I like working with the touch screen except that CAMaster's layout has become difficult to work with. Most of the controls are away from the bezel. The controls could be located to accommodate typical hand locations and most important, the jog buttons are placed too close to each other. A user intending to activate +Z can drift low and mistakenly touch the -Z.
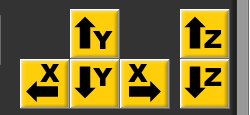
The WinCNC Manual displays an alteranate jog button layout that would better accomidate the touch screen. Look further within the manual and you'll find screen commands, parameter descriptions and the file names associated to the screen and the control. This information assists in finding the correct parameter for adjusting a button location or creating a complete layout.

A right handed user would prefer to locate the jog buttons at the upper right corner of the screen. All other buttons and touch functions should be located at the top or right edges of the screen. CAMaster's layout is heavy on the viewer window. The following project will reduce the viewer, utilize finger-sized buttons and shift all non-touch items to the bottom left corner.


Screen Development
WinCNC's main toolbar has three settings; Inactive, Small and Large. Consideration must be given in how the toolbar will manipulate the display in each setting. The user screen will shift down and out of view to clear the toolbar's display. A well planned layout will permit the large toolbar and accommodate the downward shift.
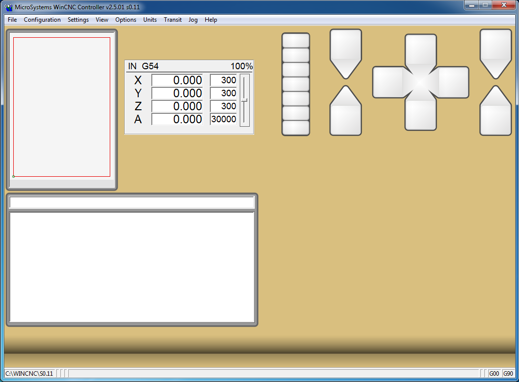

INACTIVE
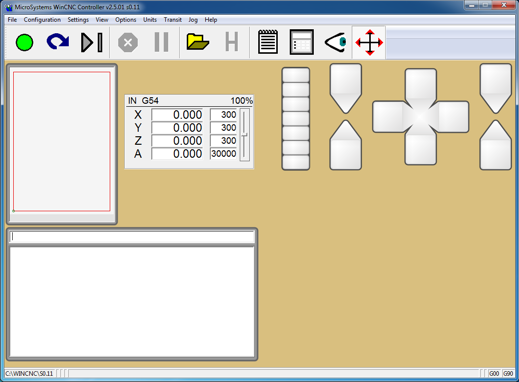
SMALL
LARGE
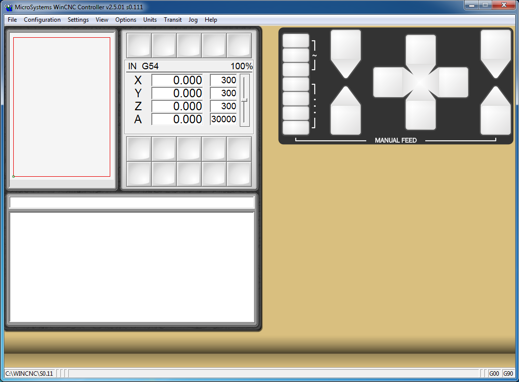
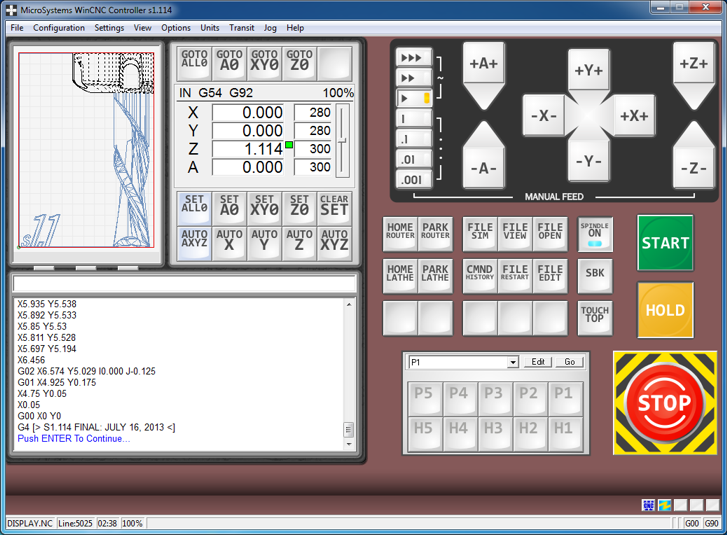
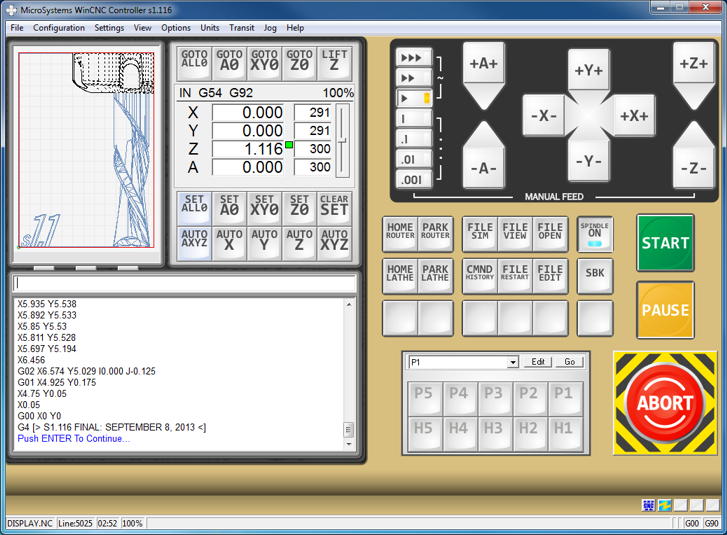
A bezel to surround the displays and styled buttons to add depth. The buttons are 50x50 pixel and are finger friendly on the 1515L monitor. If space allows, 80 or 100 pixels are recommended. The jog controls received some labeling and a backdrop.

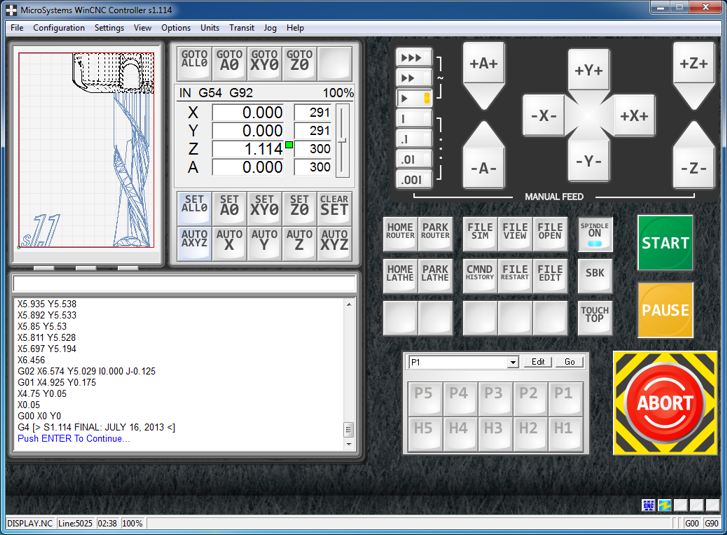
Operation stop and start buttons. A green 80x80 for start, a pale orange 80x80 for pause and a massive 150x150 for abort. These sizes and their locations provide for easy interaction by a right handed operator. Note how the large abort button may appear as an e-stop. This button should not be considered a safety device.

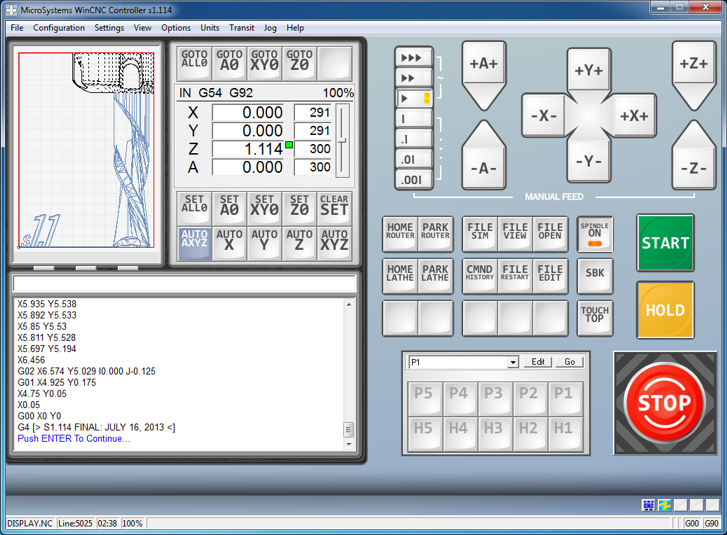
Operator button-sets for the machine's options such as; turning on/off a vacuum pump, dust collection or spindles. A home for tool change functions and height touch controls too. I intend to use some buttons for file selection and single-block execution.
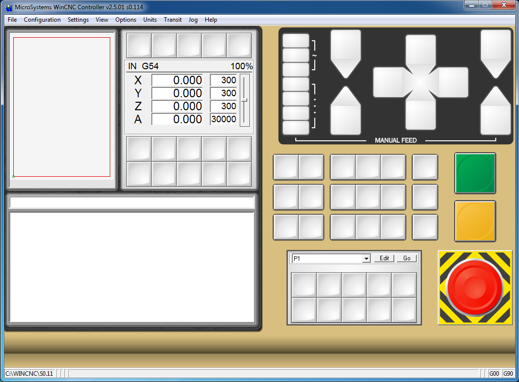
A position manager is included with WinCNC. The software's position programming window and scroll-bar were added. The button-set below the window allows for instant position access without the need to scroll/select. This tool can move and set home positions too.
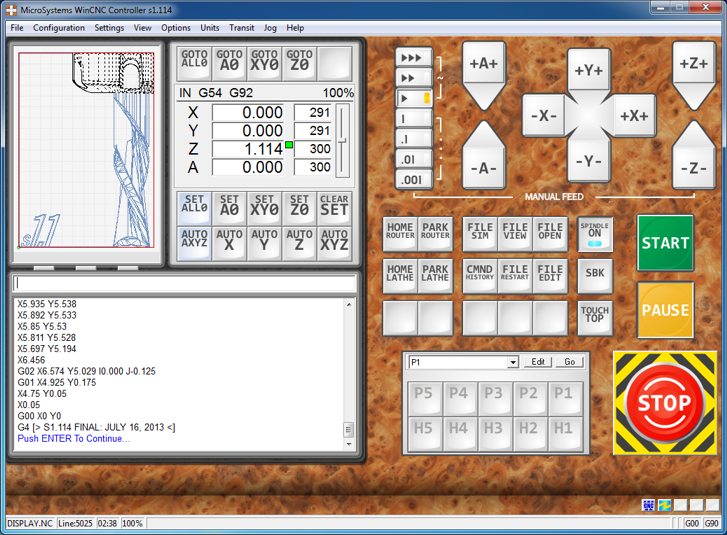
Buttons have their labeling and internal system of commands. An upgrade to WinCNC v2.5.04 was required to command the FILE button-set. The user panel is now installed. Button sizes and locations are very comfortable. Three small buttons were added to the bezel for future viewer functions. The three are too small and difficult to use by touch.
The following layout and image files are designed by a machine hobbyist with no connection to Microsystems or WinCNC. They are available for download/use by non-profit entities having a prior install of WinCNC. Modifications to the current control are required to integrate the screen. Please: BACK-UP YOUR ENTIRE CONTROL BEFORE USE. Technical assistance may be required to add a variety of machine options, commands and I/O. Plan ahead, study the process before integration. One mistake can render a machine in-operable, damaged or cause injury.
TOUCH CONTROL s1.11(1024x768)4X - (s1.116~g) SEPT. 8, 2013
4-AXIS:DOWNLOAD:LINK
s1.11.zip - (275KB)
*designed for: WinCNC v2.5.04 / Windows7
*compatible screen files for WinCNC v2.5.01+
*hidden or visible window frame / WindowsXP / Windows7
*includes BLANK button-sets for custom labeling
*unpack zip file to WinCNC directory: WinCNC/s1.11
*install help in file: _info.txt
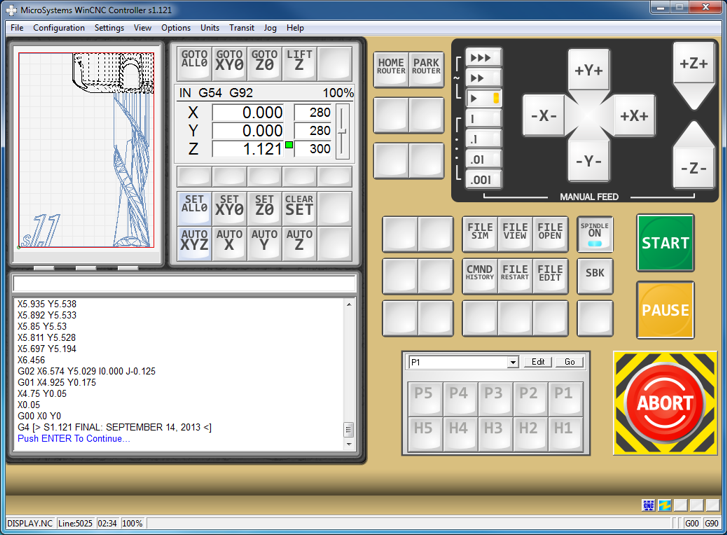
TOUCH CONTROL s1.12(1024x768)3X - (s1.121) SEPT. 14, 2013
3-AXIS:DOWNLOAD:LINK
s1.12.zip - (209KB)
*designed for: WinCNC v2.5.04 / Windows7
*
*
*
*unpack zip file to WinCNC directory: WinCNC/s1.12
*install help in file: _info.txt
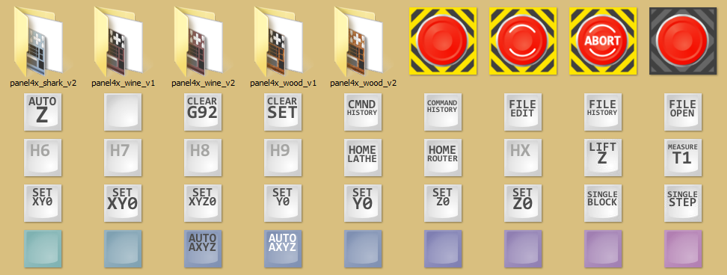
TOOLBOX EXTENSION (image collection - 299pc.) SEPT. 8, 2013
DOWNLOAD:LINK
toolbox.zip - (3.25MB)
Custom Screens Using the Extended Toolbox